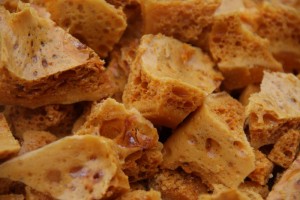
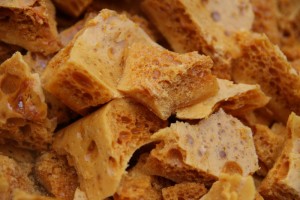
It’s called lots of things – honeycomb, hokey-pokey, sponge candy – whatever you call it it’s the stuff that’s inside a Crunchie, and I often get requests for this recipe. Very quick and easy to make and a perfect bonfire night treat.
Ingredients:
375g caster sugar
225g golden syrup
125ml water
15g bicarbonate of soda
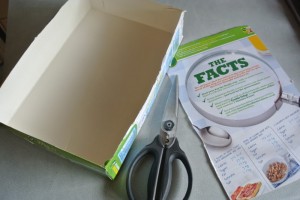
A cardboard box is the ideal thing for using to set the honeycomb in – either a shoe box or a cereal box is just right. So why not a tin? Well, because the mixture is very hot when it goes in it heats up the metal tin and it carries on cooking the sugar, to make the best honeycomb you need it to start to cool straight away so a cardboard box it is. Set it onto a wooden chopping board so that you can move it around easily without risk of burning yourself.
If using a cereal box, cut off one of the large sides and then tape together the corners to make sure it holds together.
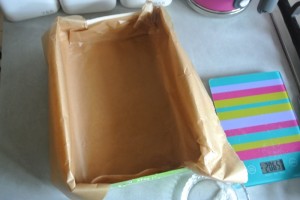
Line it with a double layer of non-stick baking paper, giving a good overhang along the long edges – make sure it’s a good siliconised baking paper and not a greaseproof paper otherwise it will never come away from the honeycomb. (I buy Tesco’s baking paper)
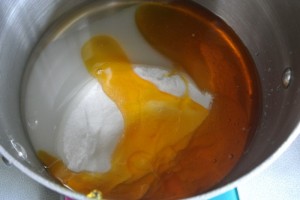
Find yourself a large-ish pan and add to it the caster sugar, syrup and water.
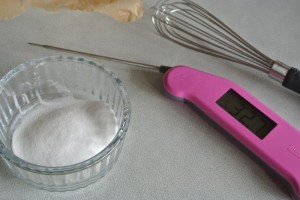
Sift the bicarbonate of soda into a small bowl to get rid of any lumps and set it to one side so it’s ready when you need it.
You’ll also need a whisk and a sugar thermometer if you have one.
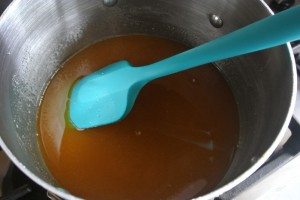
Now heat the pan over a gentle heat, stirring frequently until the sugar dissolves fully, you’ll know when it’s dissolved as you won’t be able to feel it in the bottom of the pan with the spatula/spoon.
Turn up the heat and bring the mixture to the boil. Once boiling take the spoon or spatula out – no more stirring, just let it do it’s stuff!
It will rise up in the pan as it boils but will soon drop back down so no panic.
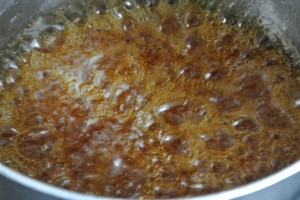
Now it needs to boil until the temperature reaches 145c. It takes a fair while to edge up that far – about 10 minutes really boiling. Keep an eye on your sugar thermometer, but as always please be careful hot sugar and skin is not a good combination. If you don’t have a sugar thermometer set a timer for 10 mins once the mixture is on a good boil.
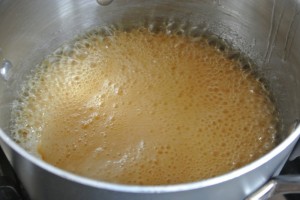
After 5 mins boiling you can see it getting darker and the bubbles that burst on the top are getting bigger.
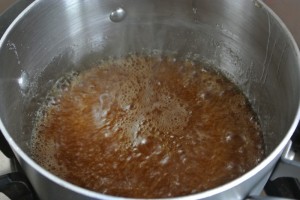
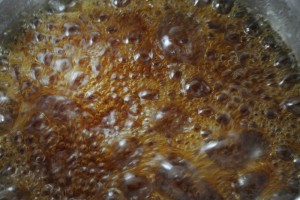
After ten minutes, it’s darker still and should be at the right temperature.
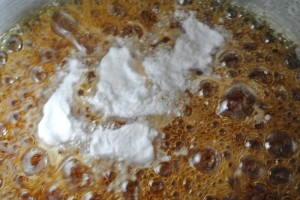
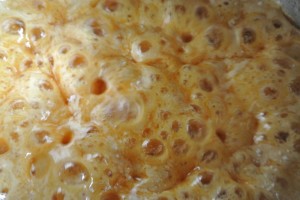
You’ll need to work quickly now, take it off the heat and add the bicarbonate of soda and give it a quick whisk together – you just want to make sure it’s combined so as quick as you can! It will start to foam up rapidly.
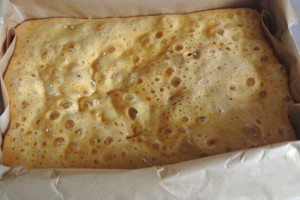
Pour the whole lot into your prepared box but don’t scrape the sides with a spatula or touch the top of the honeycomb in the box, that starts popping the bubbles so leave it be. It will carry on foaming and rising up in the box.
Now an important bit – fill the empty pan with hot water in the sink. If the remnants of the honeycomb cool in the pan they’ll be welded there and you will end up having to chisel them off!
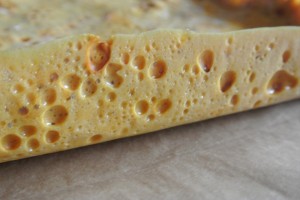
Put the honeycomb safely out of the way to cool and set. It will shrink back down a little on cooling.
It takes 1-2 hours to cool and set fully then lift the paper out of the box and peel away from the edges.
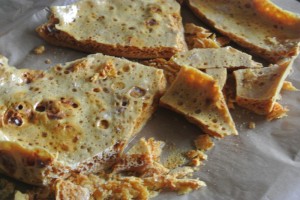
Use a sharp knife to break it up into chunks – it shatters any which way it wants so if you want a more uniform look cut it with a serrated knife in a sawing motion.
Honeycomb is best eaten on the day it’s made. It absorbs moisture from the air on storing and becomes sticky and almost starts to melt, if you are making it a day in advance keep it in an airtight container and make sure not to put it in the fridge.
You can of course dip it into melted chocolate if you’re serving it the same day, any longer and it will have to be completely coated in chocolate to stop the air from getting to it.
How to Make Honeycomb
Ruth Clemens, Baker Extraordinaire
 " width="477" height="261" border="0">















Pingback: Real Homemade Honeycomb | thelittleloaf
Pingback: Toast Ice Cream | Smoke and Thyme
Pingback: Real Homemade Honeycomb | Little Loaf
Pingback: Real Homemade Honeycomb | thelittleloaf